Last updated
Is there something wrong with this page?
We are updating our documentation library to be ready for Sector 10! Find out more in our Sector 10 roadmap or head straight to our collection of Sector 10 - Changes and Updates.
Long-form is similar to the Resource content type, except that it is built with extra features to suit longer resources.
With a long-form, you are able to format your content to have an interactive table of contents - perfect for lengthy informational content.
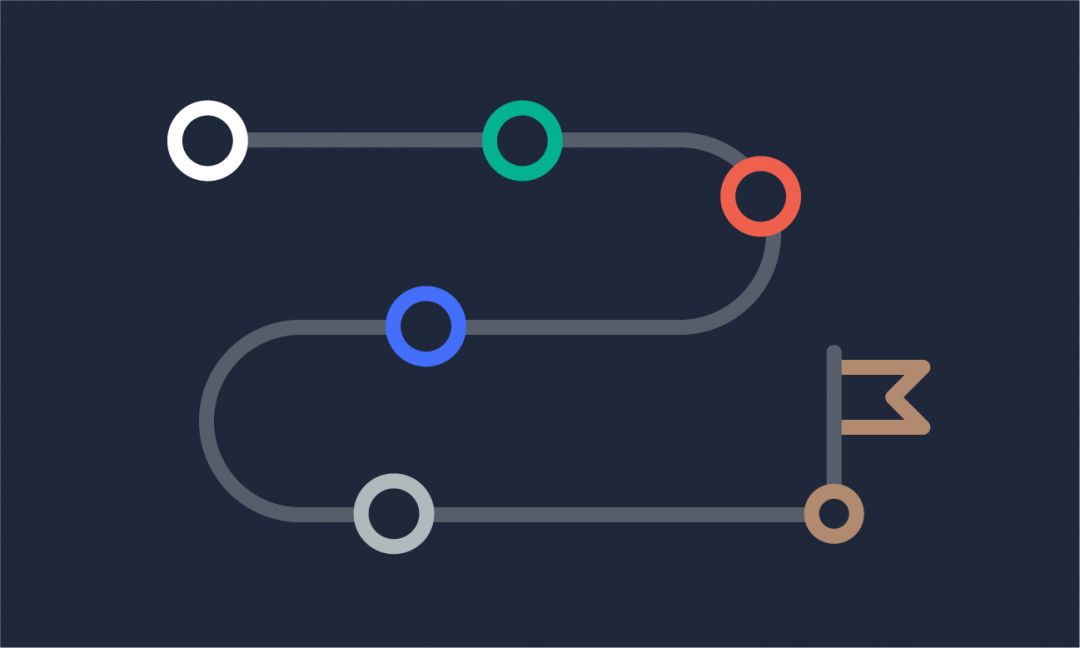
To create a piece of long-form content, follow these steps:
Adding new content to your site and Making changes to existing content on your site.
To add a long-form, use the AdminUI toolbar and navigate to Content > Add content > Long-form
<your-domain>/node/add/sector_long_form
This takes you to a node edit form for a long-form node, where you can fill out fields which will make up a piece of long-form content.
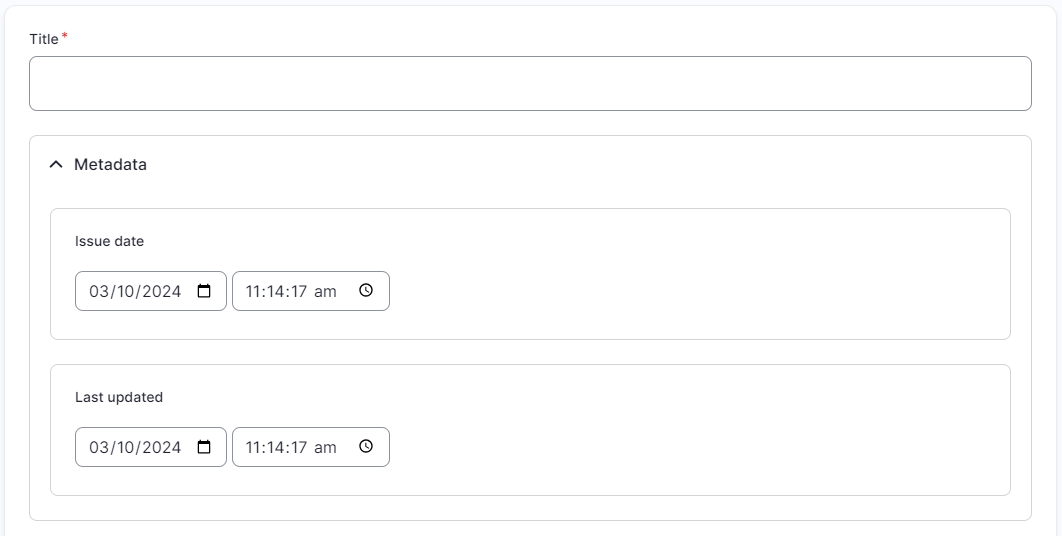
Title and metadata fields for a long-form node
Set the title and issue date for the long-form document. If you make significant edits to it at a later time, it is good to update the 'last updated' date to indicate to users that the content is up to date and reliable.
The Body field is for your main content - see our Introduction to the WYSIWYG editor for more information on using this field.

The body field for a long-form node, with examples of heading formatting.
Long-form allows you to use headings to generate an interactive table of contents for your content. To format some text as a heading, click on the 'Paragraph' drop-down in the toolbar - Heading 2 is used to create sections in the table of contents, and Heading 3 is used for subsections.
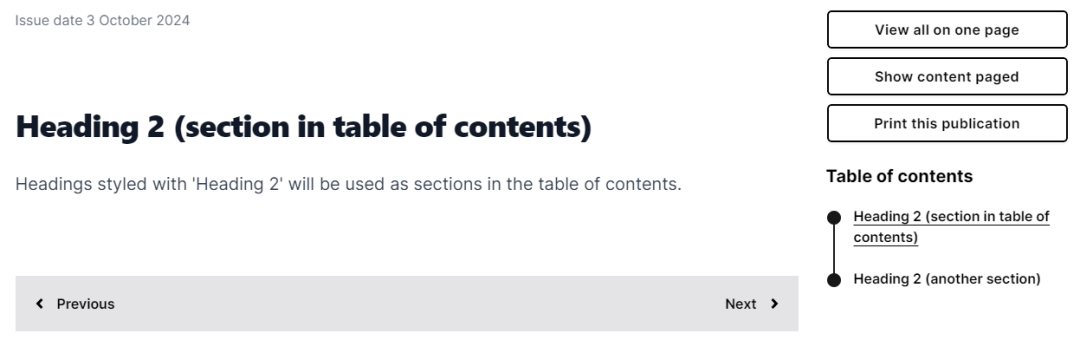
Example of Heading 2 used as a section in a long-form node.
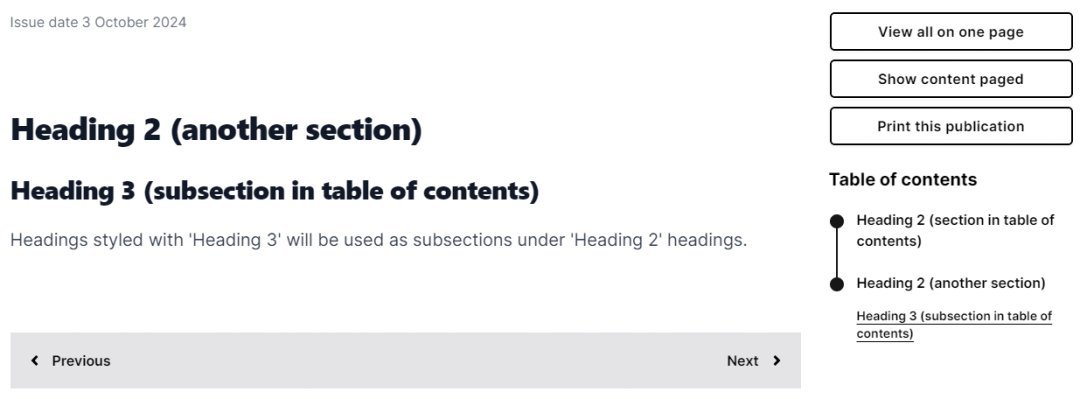
Example of Heading 3 used as a subsection in a long-form node.
You can attach related content in the form of related documents and related links. To learn more about this, see Adding related content to a node.
The standard node settings (e.g. authoring information) are at the side of the node edit form. You can learn more about these settings in Changing standard node settings.
At the top of the node edit form you can preview and save your long-form.
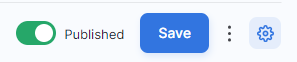
Before you save your resource as 'published', you should preview it to see how it displays - see Previewing your content. Once you're happy with how it looks, publish the node.